

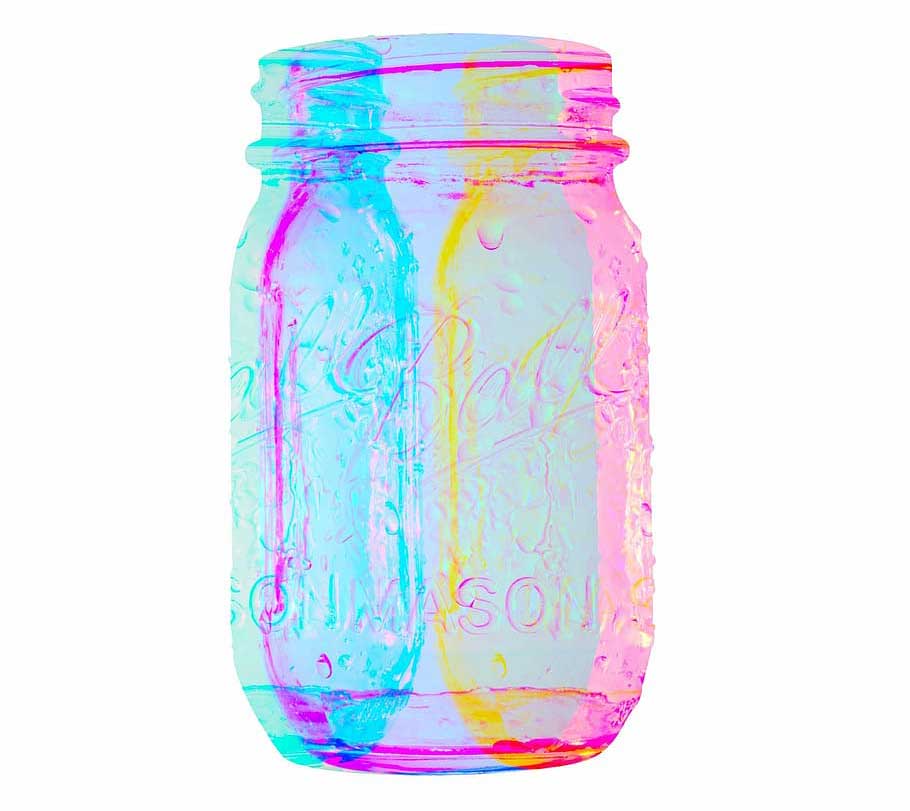
Acrylic, a water-soluble, extremely versatile, and fast-drying paint.
With some unique characteristics, this paint makes a heavenly combination with glass. From DIY glass ornaments to decorative glass bottles, this nontoxic paint takes the color combinations to a whole new level.
However, the bond between glass and acrylic is not that strong. Once you start using any acrylic painted glass items, you will notice the paint is gradually chipping off. So, if you were thinking of painting glass items with acrylic, you should think about how to seal acrylic paint on glass first.
If you don’t want to watch your masterpiece getting completely vanished after a couple of uses, this tiny guide is here to help. Follow this quick guide to learn the secrets of sealing acrylic paint on glass.
Also Read: How to Hydro Dip with Acrylic Paint?
Things to Do before Sealing Acrylic Paint on Glass
There are a number of things that you need to do before sealing the paint. Take a quick look at these before you start sealing acrylic paint on your glass ornaments.
1. Choosing the Right Type of Acrylic Paints
The first step to achieve a long-lasting color on your favorite ornament or artwork is choosing the right type of acrylic paint. What do you mean by that? After all, acrylics are acrylics, aren’t they all the same? Well yes, but actually no!
Different types of acrylic paints work well on different surfaces. Acrylic enamel paint is one that works great on smooth surfaces like glass. Also, the good quality of the paint makes a significant change in looks and ensures long-lasting. High-quality paints are easier to work with and they produce comparatively brighter colors. So, don’t skimp on this.
Another important thing is the opacity of the paint. And this actually depends on your artwork, if you are going for artworks like a decorative glass bottle, use translucent paint to make it light to pass through. But if you are thinking of long-lasting solid color, go for paints with more opacity.
2. Cleaning the Glass Surface
Glass is not an ideal surface that goes well with paints and decorations. It has a nonporous and slick surface that makes it difficult for other materials to grip and stick to it. So, to make paints last long on glassware, we need to use a sealer. But before we use the sealer, cleaning the surface is necessary.
So, how do I clean my glass surface? First, wash the glass thoroughly in warm soapy water. Now, rinse and leave it for drying. After that, pour some rubbing alcohol into a cotton ball and clean the surface with it. Now, your glass surface is clean and quite ready for painting and sealing.
3. Drying the Artwork
Sealing the paint just after finishing the brush strokes is not a good idea. If you want long-lasting paint on your artwork, give it some time to dry properly. Though acrylic is a quick-drying paint, wait for an hour to make the paint dry properly.
Okay, we have completed all the prerequisites. Now it’s time to apply the paint and seal it. You can seal your artwork in two ways. You may use sealant to spray it with or you can bake it to get the job done. Let’s check them out in detailed steps.
How to Seal Acrylic Paint on Glass (The Sealant Methods)
There is always a lock to protect treasures inside the treasure chest. And when it comes to sealing acrylics on your favorite artworks, the sealant method is the lock of your artworks. Sealing acrylic paint prevents your artwork from wearing off, chipping, or even fading. All in one! Sounds nice, right?
Also, you can choose to perform this ‘all in one’ method in two different ways. Let’s check out the step-by-step process to seal your paint and find out which one is best for you.
Important Read: How to Sand Acrylic Paint Without Hassle?
Spray-on Sealant (Sealant Spray)
- Choosing the Sealant: For spray-on sealant, you should go with a glossy sealant. But you can also go with clear coatings like polyurethane coating.
- Read the Instructions: Reading the instructions are always helpful. You will find them on the back of the bottle.
- Mixing: For mixing the sealant, shake well for a few seconds.
- Spray the Sealant: Open the sealant can, and spray gently at least 12 inches away from your artwork. Cover the area by sweeping the sealant in a back and forth motion to achieve uniformity. To achieve an evenly sprayed layer, do not linger in the same spot for too long.
- The Second Coat: After 15 minutes of applying the first coat, your artwork is ready for the second coat. Apply the sealant in the same manner as the first one. Applying the sealant lightly is completely fine.
- The Third Coat: If you feel like your artwork needs another coat, wait for another 15 minutes and follow the same process.
- Let It Dry: Now, it’s time to keep the artwork isolated for at least 24 hours to let it dry. Make sure no one accidentally touches it before drying properly.
Brush On Sealant
Not comfortable with spraying? You can always go with the old-fashioned way, perhaps a paintbrush and varnish! What type of varnish should I use? Go for polyurethane varnish to achieve a rich glossy finish. Before you start applying the varnish, check out the steps for this method.
- Applying Varnish: Start applying the varnish gently with your brush. To save some varnish and protect your floor, make sure you put your glass item in a place just a little bit higher than the varnish container so that extra varnish can drip into it.
- Let It Dry: Leave it for drying for an hour.
- The Second Coat: After drying, follow the previous method to apply the second coat if required. You don’t need to go into details, just apply a light coat this time.
- The Third Coat: If you are thinking of further coats, give an interval of an hour after every coat and repeat the processes.
- Isolation: Once you are happy with your final coat, keep the glass item isolated in a safe place for at least 24 hours.
Alright, the paint sealing is done and the artwork is ready for some compliments. Now, which technique is better? To be honest with you, we suggest you go with the spray-on type as it gives advantages over brush-on type sealants.
There is one more method that can be used for sealing your acrylic paints. Let’s move on to the key steps of our next sealing method.
The Baking Method
It’s a fun method. It might remind you of Granny’s freshly baked cookies. But before having one more cookie and getting cavities, take a look at the steps of the baking method.
- Read the Instructions: Some acrylic paint brands provide their own baking instructions and suggest the ideal temperature for obtaining the best results. You will find it very helpful, so, definitely check that out. You will find it on the packaging of the paint.
- Baking: Put your glass artwork on a piece of parchment paper on a cookie sheet and place it inside the oven. Preheat is not required. Now, set the oven somewhere between 300 to 350 degrees and bake for 30 minutes. But make sure your artwork heats up and cools down gently. Otherwise, you may end up getting broken artwork.
- Let It Cool: Leave the glass item inside the oven for about 30 minutes. After the waiting period is over, carefully take out your masterpiece from the oven. If the glass item is intended for regular use like serving food or drink, wait for at least 72 hours before you take the first sip from it.
Voila! Your paints are now sealed and your artwork is ready to be displayed.
Things to Keep in Mind while Sealing Acrylic Paint
You have learned the secrets of sealing acrylic paint on glass. But just before you go, consider taking some useful tips with you.
- Do not use a matte finish for your artwork or jewelry. Always use a varnish or glossy polyurethane sealant.
- Before you begin any process, don’t forget to read the instructions on the packaging.
- Paint fumes can be harmful to health. So, always seal acrylic paint on the glass outside the house or in a room that has well ventilation.
- To protect the paint, use only hand washing, always avoid the dishwashers.
The Bottom Line
Seeing your paints last for ages is a type of joy that might never be expressed in words. Keeping this tiny guide in mind, you can easily seal acrylic paint on any of your artwork.
So, what are you waiting for? Make preparations, try any of these methods to seal acrylic paints on your artwork to make it last for generations.